Mounting a plaque on a wall might seem straightforward, but that’s not always the case. At Impact Signs, we get it – whether it’s a large bronze plaque or a lightweight acrylic one, how you install it is vital. Our proven methods for hanging plaques will help you display your plaque on drywall, brick, and all other surfaces with the same precision that went into creating it.
Let’s make sure your plaque is mounted perfectly!
How to install a plaque on a wall (step-by-step)
Pre-installation instructions
- Ensure all boxes, plaques, and necessary mounting materials, including stud mounts and templates, have been delivered and accounted for.
- Thoroughly clean the wall surface to ensure proper adhesion and prevent any debris from interfering with the installation.
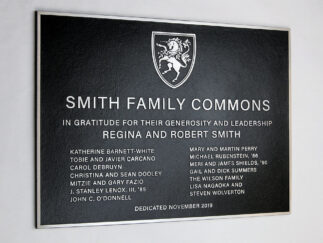
- Verify that the plaque’s pattern or text is correctly oriented to avoid an upside-down or misaligned installation.
- Use top-quality materials, including 100% silicone adhesive, to ensure a durable and professional installation.
Installation steps
1. Verify delivery and assess wall material and plaque weight
- Confirm that the plaque, stud mounts, and installation template are included in the delivery.
- Assess the wall material (e.g., drywall, brick, concrete) to determine the appropriate mounting approach.
- Take note of the plaque’s weight to decide whether heavy-duty anchors or standard anchors are needed. Impact Signs ships the appropriate mounting studs tailored to your plaque’s specifications.
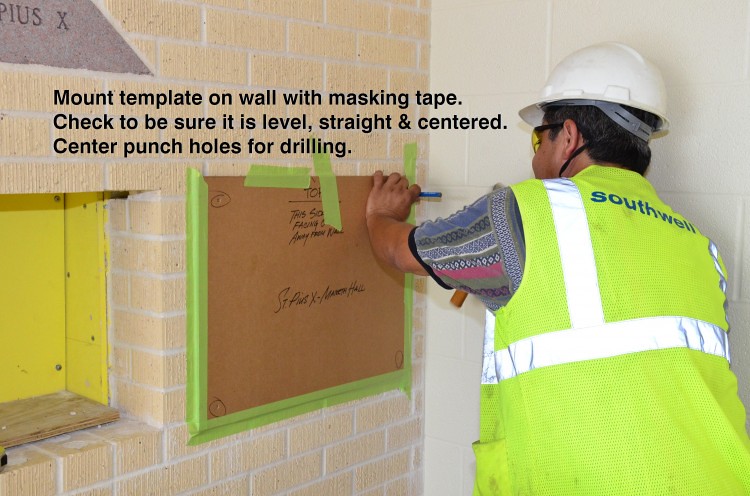
2. Create and position the template
Center and level a template on the mounting surface to plan your installation.
- If no template is provided:
- Trace the outline of the plaque onto a piece of strong paper or cardboard.
- Insert the threaded pins into their mounting holes on the plaque.
- Apply a black Sharpie or paint to the tips of the studs.
- Flip the plaque over and center it on the drawn rectangle. This will mark the stud locations on the template.
- Secure it with painter’s tape to avoid damage to the wall.
For a low-profile look, flush mount systems are great for metal plaques. For outdoor installations, use corrosion-resistant hardware to withstand the elements. At Impact Signs we offer systems tailored to different plaque designs and materials.
3. Prepare and mark the wall
- Clean the wall surface thoroughly.
- Mark the mounting points using a pencil, ensuring alignment with the template.
- Use a laser or spirit level for accuracy.
- Poke through the template’s marked holes to transfer the stud positions onto the wall.
- Tape the template securely to the wall.
- This step is crucial to avoid an upside-down or misaligned installation.
4. Drill holes and prepare for Install
- Center punch each marked stud location to prevent the drill bit from wandering.
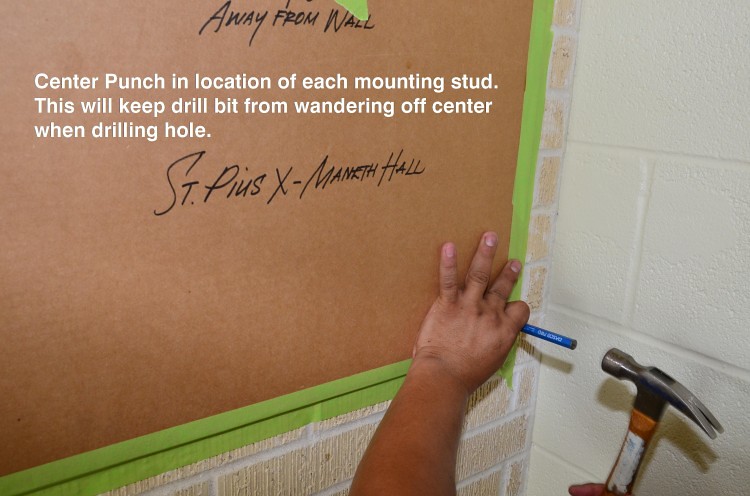
- Use a hammer drill to make holes, ensuring the drill bit is slightly larger than the mounting stud.

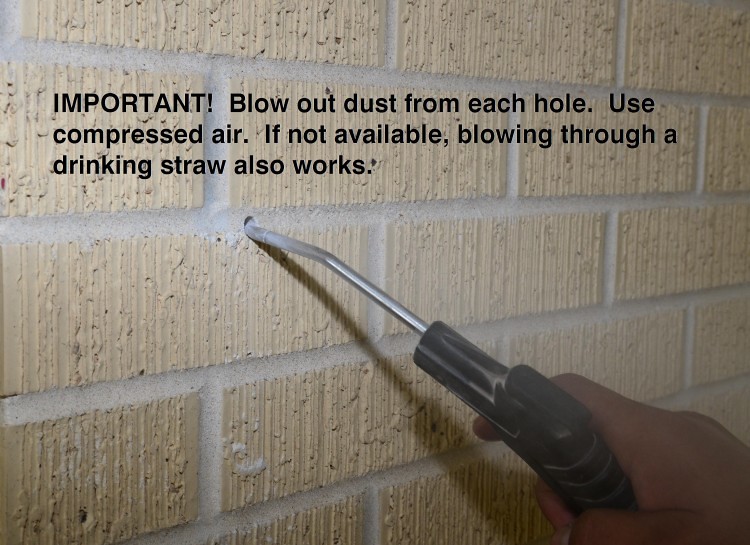
- Blow out any dust from the drilled holes using compressed air or a drinking straw.
5. Install studs and apply adhesive
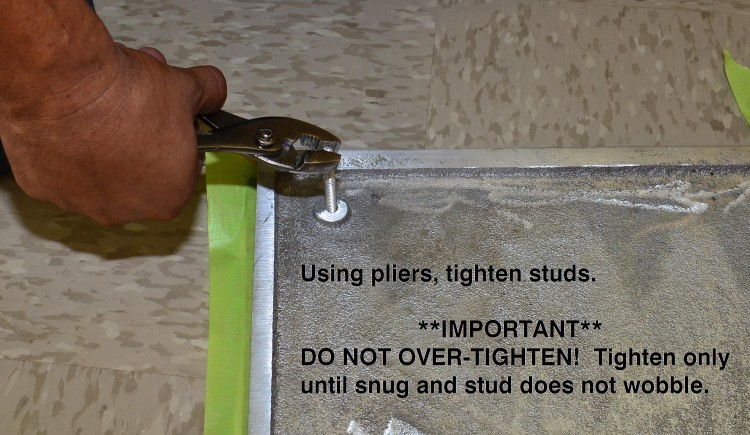
- Tighten the mounting studs into the plaque using pliers. Ensure the studs are snug and stable without over-tightening.
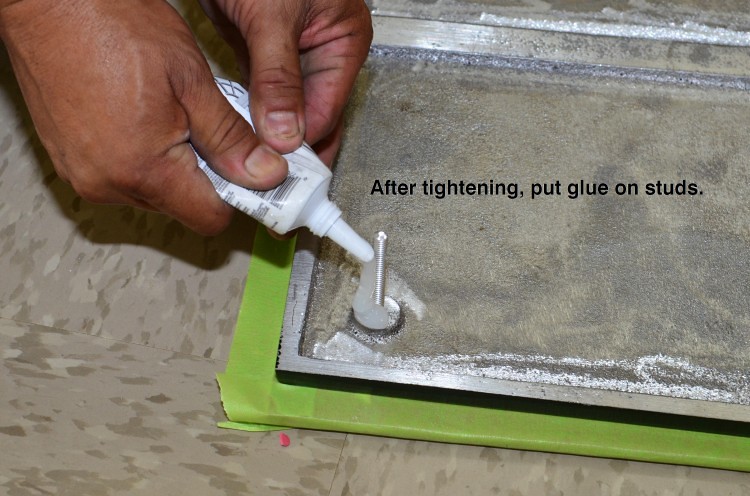
- Apply adhesive into each drilled hole:
- For interior installations, use clear silicone adhesive.
- For exterior installations, use construction adhesive.
- For an extreme hold, a 2-part epoxy can be used but may be messier to handle.
6. Mount the plaque
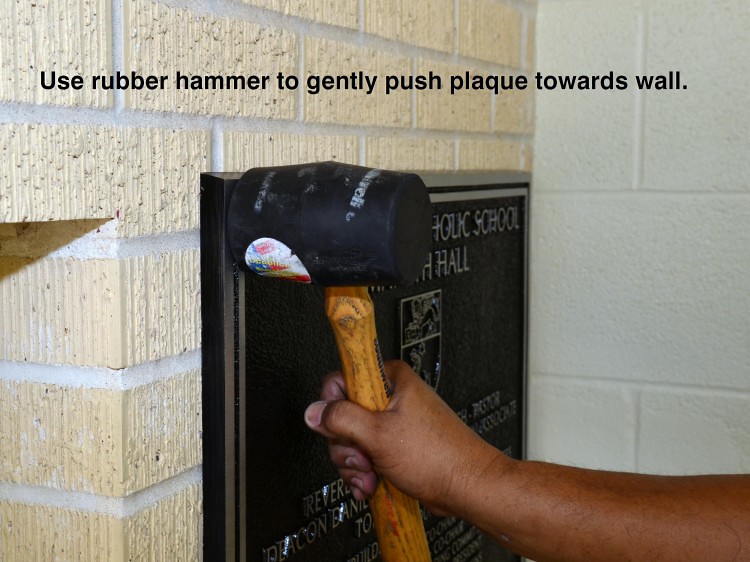
- Align the studs on the back of the plaque with the drilled holes in the wall.

- Gently push the plaque towards the wall. Use a rubber mallet to lightly tap it into place if necessary.
7. Final adjustments and securing
- Follow Impact Signs’ specific mounting instructions for your plaque’s hardware.
- For heavier plaques, enlist a partner or use lifting equipment to avoid injury.
- Make final adjustments to ensure the plaque is level and securely attached.
- Double-check the stability of the installation.
Post-installation tips
- Periodically inspect the plaque to ensure it remains securely mounted over time.
- For outdoor installations, check for signs of wear or corrosion and replace hardware as needed to maintain a professional appearance.
Understanding plaque mounts
Mounting heavy or oddly-shaped plaques can be tricky. These types often need special mounts and extra-secure installation to keep them from slipping or getting damaged. When you’re working with materials like stone, metal, or thick acrylic, the added weight means you’ll need stronger hardware and solid mounts.
Plus, those irregular shapes might call for custom fittings to make sure everything sits straight and looks great on the wall or structure. If in doubt, get some professionals to help. We work with installers nationwide and are happy to connect you to the right person for the job.
But, if you want to tackle the job yourself, here are a few popular mounting strategies!
Commonly-used plaque mounting techniques
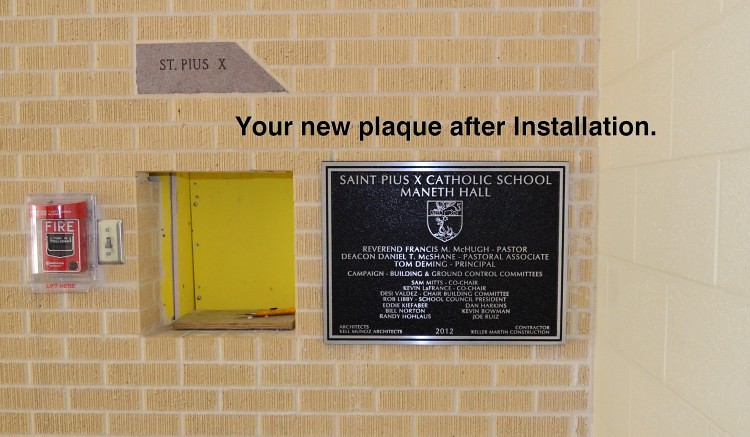
Blind mounts are a great option for a clean look. They keep all the hardware hidden, making the plaque appear to “float” on the wall. This style is especially popular for indoor spaces where looks matter, allowing the plaque to be the star without any visible brackets or screws.
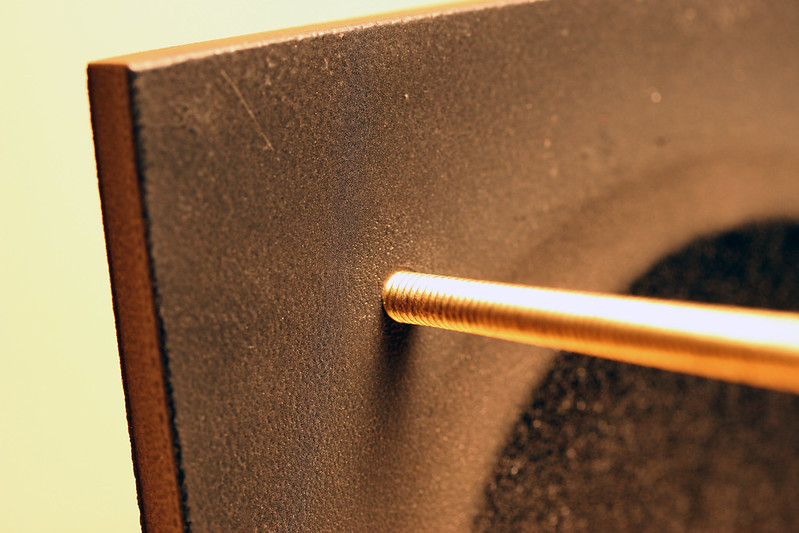
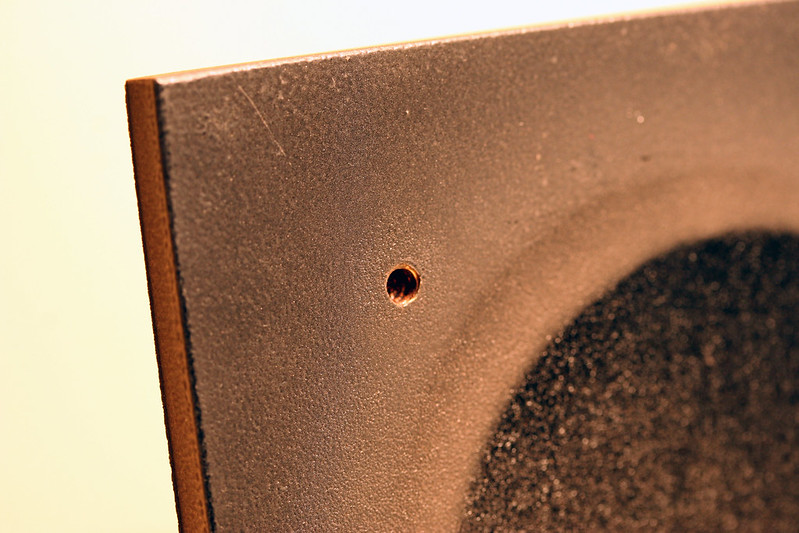
- Blind stud mounts use small, threaded studs on the back of the plaque that stay completely out of sight. It’s a solid choice for mounting plaques on all kinds of surfaces, whether it’s a brick wall, concrete, or something else.
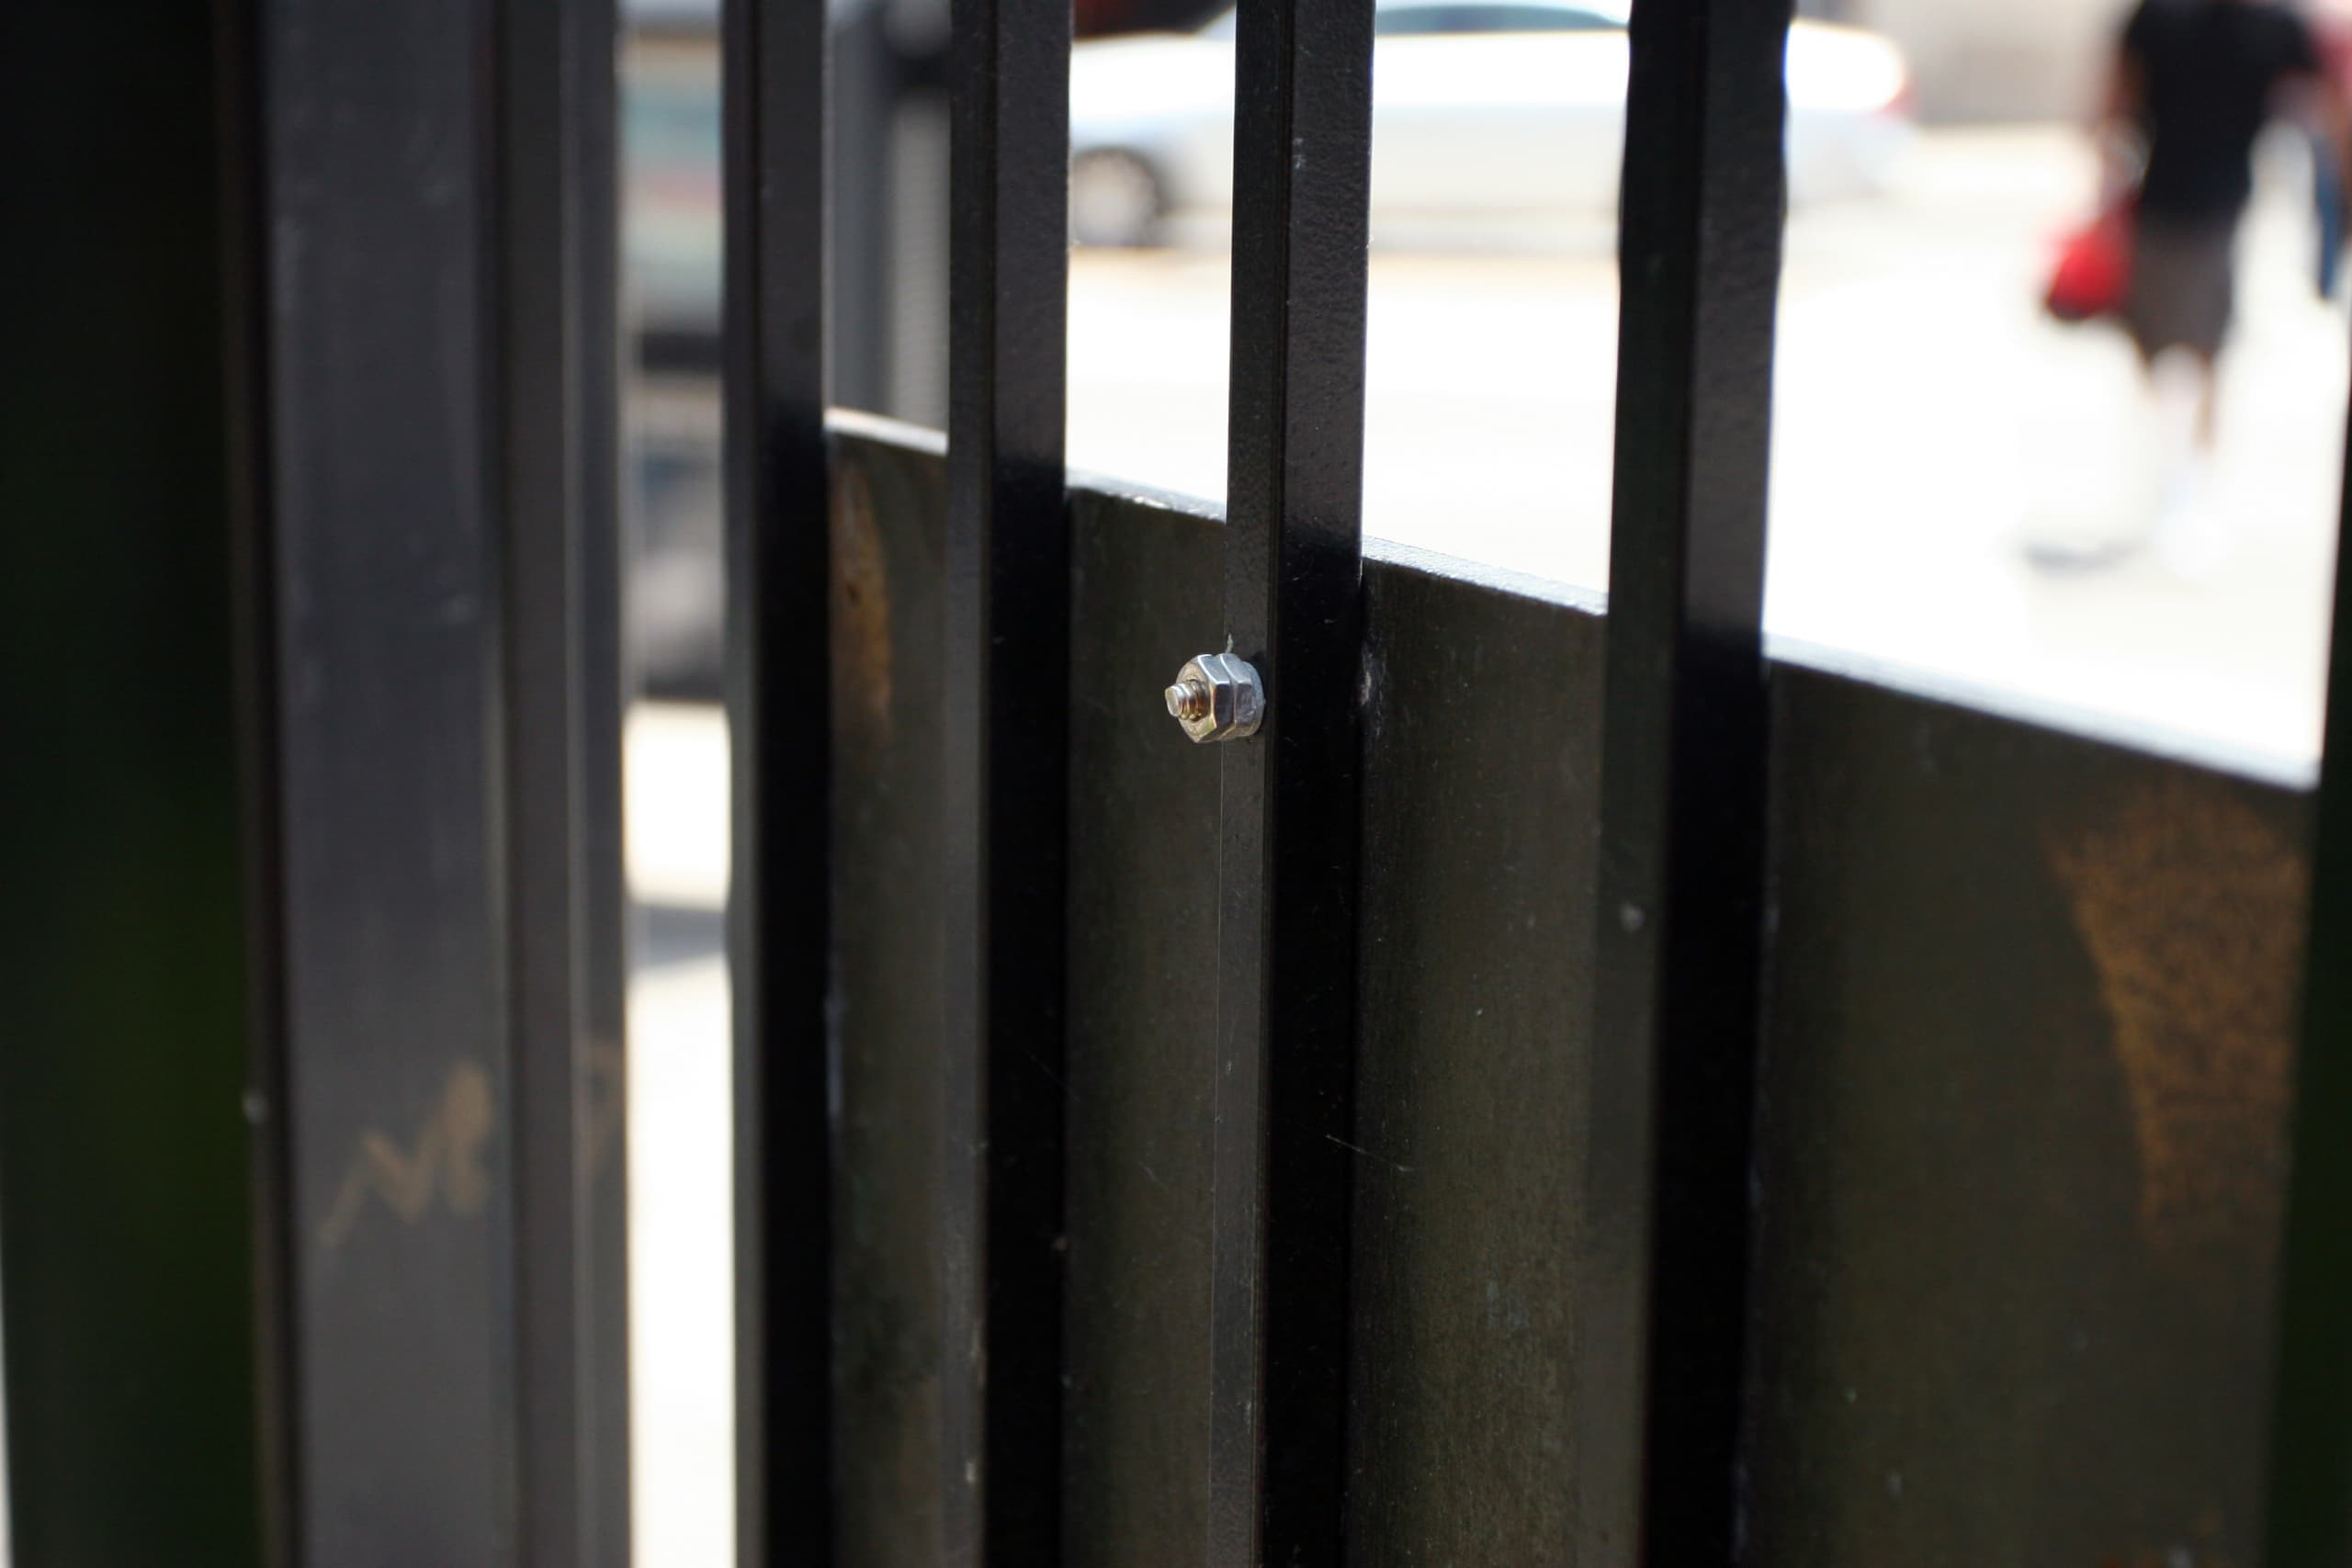
- When mounting plaques on fences, hollow mounts work well. They use hollow screws or bolts to keep the plaque secure and upright, making sure everything stays in place.
- Hollow wall mounts work similarly to fence mounts but are designed specifically for walls. They’re perfect for installing plaques on drywall or other hollow surfaces, using special anchors to make sure everything stays securely in place.
- Rosette screws add a nice touch when mounting plaques on solid walls. They’re decorative, so they bring a bit of style while keeping everything secure.
- Solid wall mounts are a classic choice for heavy plaques. They attach the plaque directly to solid surfaces like concrete or brick, making sure it stays securely in place.
- A solid wall mount without rosettes is a simpler option that skips the decorative touches.
- Wood mounts are perfect if you’re going for a natural look. Mounting plaques directly onto wood works especially well in indoor spaces or rustic settings.
- Not a wall mount, but post mounts are a great option for displaying plaques outdoors, like in gardens or parks. They lift the plaque off the ground, giving it a standalone look that’s perfect for uneven or rough terrain. Plus, they offer both stability and good visibility.
Essential tools and materials for secure plaque hanging
Hanging a metal plaque or address and house number letters securely takes the right tools and materials, especially when dealing with heavier pieces. Here’s a quick rundown of what you’ll need for a solid and accurate installation.
Tools and materials
- Heavy-duty wall anchors or toggle bolts: Essential for supporting the weight of heavier plaques, these anchors are designed for durability and strength, ensuring that plaques stay securely mounted over time.
- Mounting brackets for metal plaques: These brackets are tailored for metal plaques, providing added stability and preventing them from shifting.
- High-quality drill with masonry bits: For installing plaques on brick or concrete walls, use a powerful drill equipped with masonry bits. This setup allows you to drill precise, deep holes for a secure fit.
- Stud finder: Where appropriate, locate wall studs or other secure mounting points. This is especially important when installing a plaque on drywall, as studs provide the strongest base.
- Laser level: A laser level ensures perfect alignment, making it easy to hang plaques evenly without constant adjustments.
Choosing the right hardware
Plaque weight and wall type play a big role in choosing the right hardware.
Impact Signs’ plaques typically come with specific mounting instructions tailored to the material and weight, so review these instructions before gathering additional hardware.
Additional installation essentials
To ensure a smooth installation, keep these tools on hand:
- Tape measure: Measure twice before drilling for precise placement.
- Pencil: Mark your spots to prevent mistakes and ensure accurate alignment.
- Safety glasses: Protect your eyes, especially when drilling into masonry.
- Screwdriver: Both manual and electric screwdrivers can be useful for tightening or adjusting the mounting hardware.
Consider assembling a dedicated “plaque hanging toolkit” with all your specialized tools and materials. This way, you’ll have everything ready for future installations or adjustments.
Expert techniques for heavy plaques and damage-free hanging
Find the perfect location
- Use a stud finder to locate wall studs – these provide the strongest support.
- Avoid areas with high humidity or temperature fluctuations.
- Check for pipes or electrical wiring before drilling.
- For brick walls, drill into mortar joints rather than the brick face.
- Consider natural and artificial lighting patterns throughout the day.
Optimal viewing height
- Mount eye-level plaques 57-60 inches from floor to plaque center.
- For seated viewing areas (like reception desks), lower height to 48-54 inches.
- In large spaces, raise the height slightly to maintain visibility.
- Account for furniture placement and walking paths.
Professional leveling tips
- Use a laser level for precise alignment.
- Mark mounting points with painter’s tape before drilling.
- Double-check measurements before making permanent holes.
- For uneven walls, use spacers behind the mount to achieve perfect alignment.
Heavy-duty mounting solutions
- Use multiple mounting points for extra-large or irregular shapes.
- Choose corrosion-resistant hardware for outdoor installations.
- Security hangers provide extra protection in high-traffic areas.
Damage prevention
- Install rubber bumpers on plaque corners to protect walls.
- Use wall anchors rated for twice the plaque’s weight.
- Consider removable mounting systems for temporary installations.
- Test weight support before final installation.
Impact Signs’ precision-engineered plaques are designed for easier, more secure mounting. We also offer optional professional installation services for complex or high-value pieces, ensuring your plaque is mounted securely and beautifully.
Elevate your space with custom plaque solutions from Impact Signs
Whether you’re displaying a single commemorative plaque or creating an impressive wall of recognition, proper mounting techniques ensure your display will maintain its impact for years to come.
At Impact Signs, we offer comprehensive mounting solutions alongside our custom plaque creation services. From sleek corporate awards to historic bronze markers, our team ensures that each piece is mounted securely and displayed beautifully.
Ready to create a stunning plaque display? Contact Impact Signs today to discuss your vision. Our experts will help you choose the perfect plaque style and mounting solution for your space!